Checklists
Onboarding milestones with progress tracking. Users see what to do, what they've done, and what's left.
A checklist gives new users a clear path: here's what to do, here's your progress. Callout tracks completion per user and saves it across sessions — they pick up where they left off.
Creating a Checklist
Go to Engage > Experiences > Checklists in your dashboard and create a new checklist.
Checklist Settings
- Title — the heading your users see at the top of the checklist panel (e.g., "Getting Started with Acme")
- Description (optional) — subtext below the title
- Completion Message — what users see when they finish all milestones (e.g., "You're all set!")
- Position — which corner of the screen the panel appears in (bottom-right, bottom-left, top-right, top-left)
- Allow Hide — let users collapse the panel for the current session
- Allow Dismiss — let users permanently dismiss the checklist
- Target Pages — URL patterns controlling where it appears
- Segments — which user segments see this checklist
Adding Milestones
Each milestone represents one action you want users to complete:
- Title — what the user sees (e.g., "Create your first project")
- Key — a unique identifier you'll use in code (e.g.,
create_first_project) - Description (optional) — extra context about what to do
- CTA URL (optional) — a link that takes the user to the right page when they click the milestone
You can reorder milestones by dragging them.
Marking Milestones Complete
This is the one piece that needs a line of code. When a user completes the action a milestone represents, tell Callout:
Callout.complete("create_first_project");The checklist updates instantly — the milestone gets a checkmark, the progress ring advances, and it's saved on the server.
You can deploy this code before creating the checklist in the dashboard. Unknown keys are silently ignored — wire up the code first, configure the checklist later.
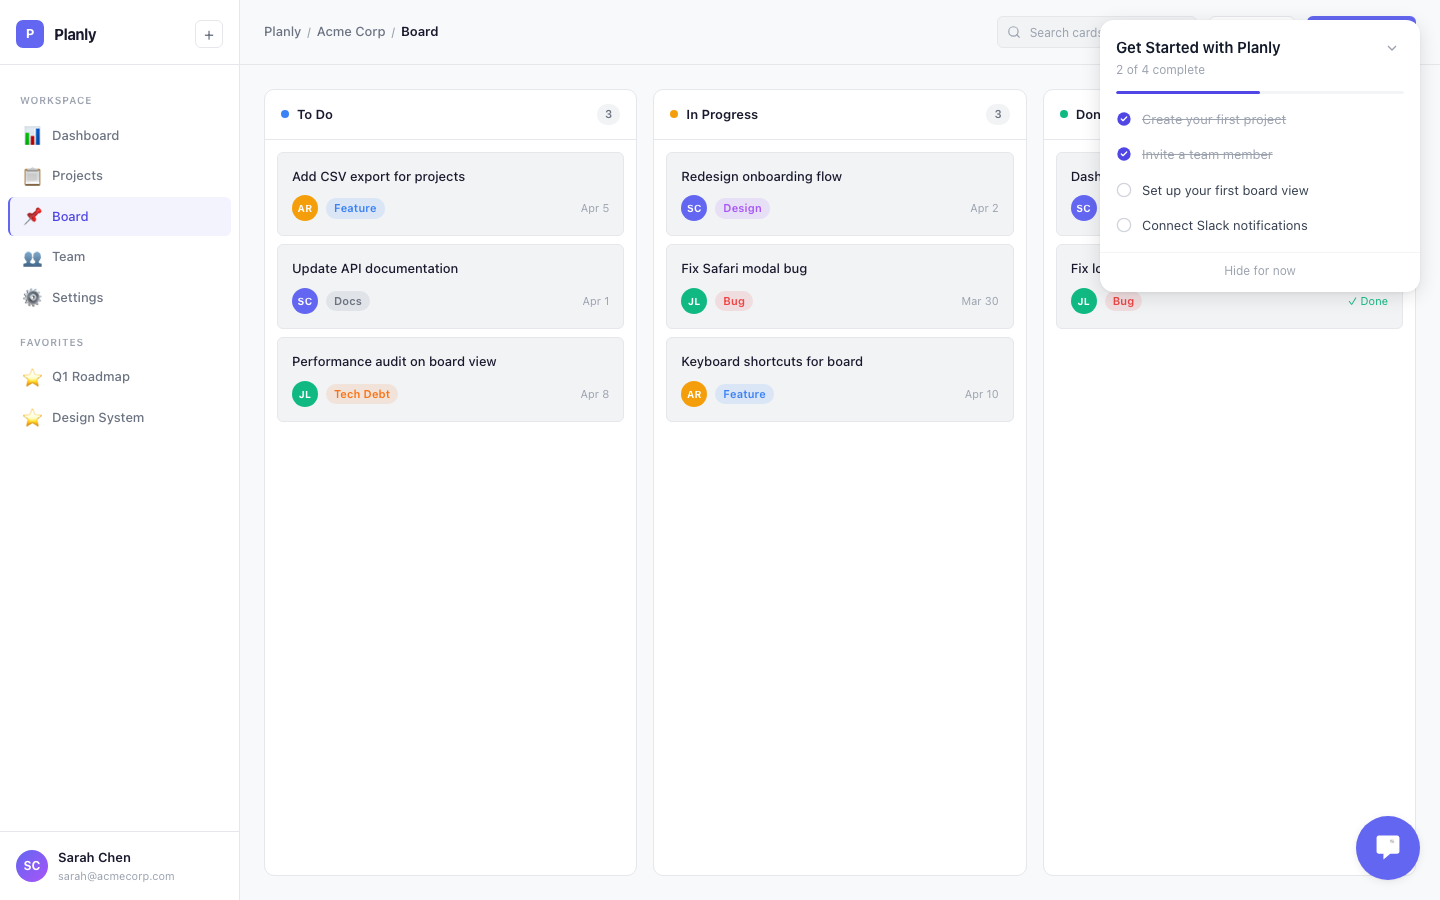
What Your Users See
The checklist appears as a floating panel on the page:
- Progress ring — shows how far along they are at a glance
- Milestone list — each milestone with a title, optional description, and checkmark when complete
- CTA links — if you added a URL, clicking the milestone takes them to the right page
- Completion state — when all milestones are done, your completion message is displayed
The panel can be expanded or collapsed. When a user returns to your site, their progress is exactly where they left it.
Example
A 4-milestone onboarding flow:
Callout.complete("complete_profile");
Callout.complete("create_first_project");
Callout.complete("invite_team_member");
Callout.complete("connect_integration");
Each call is safe to make multiple times — it only records once.
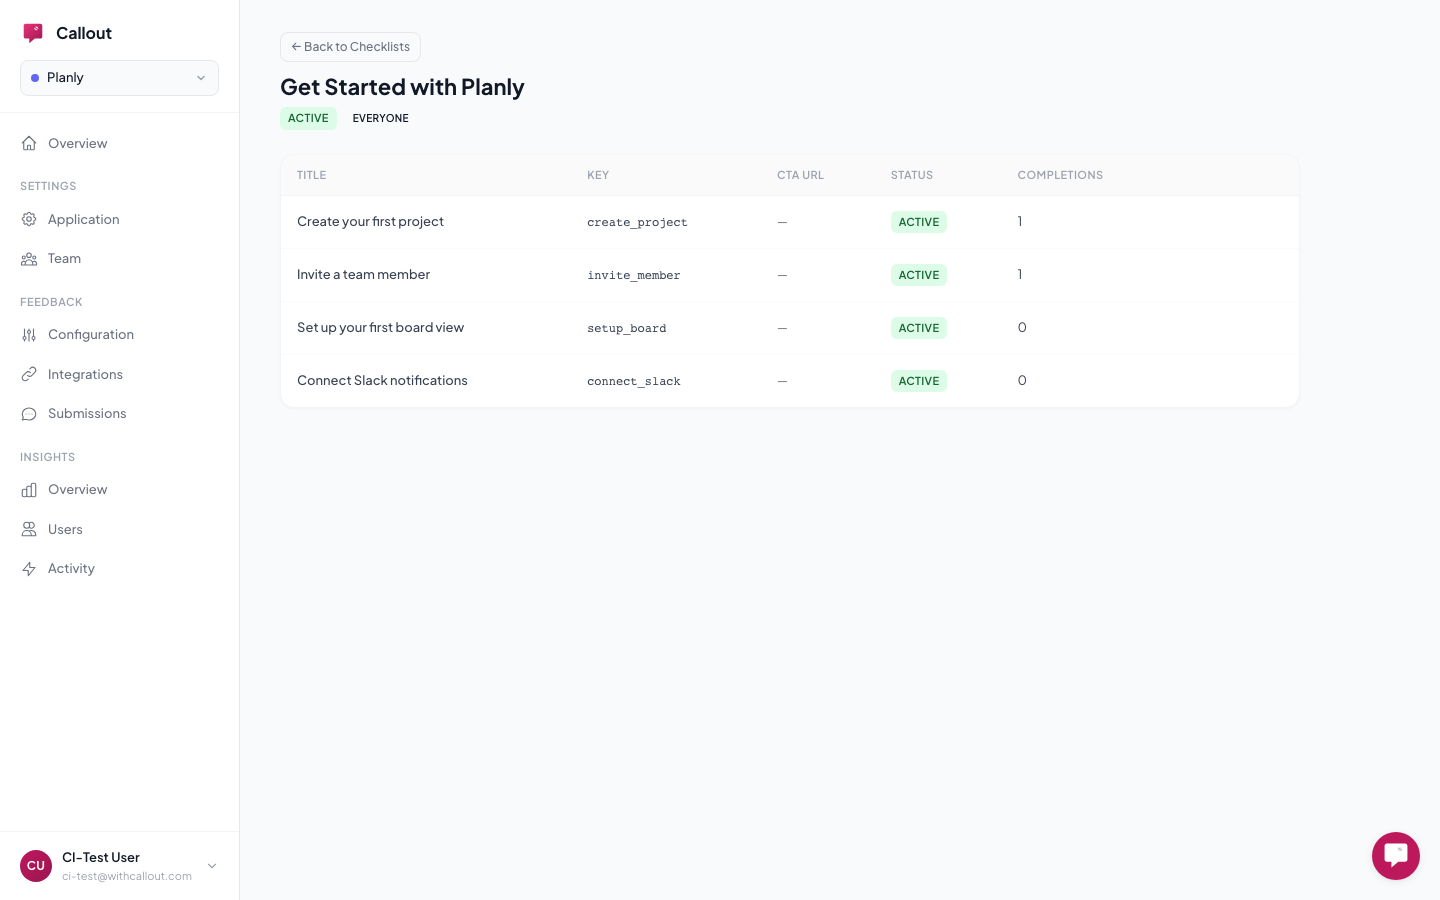
Tracking Completion
See how your checklists are performing at Insights > Overview:
- How many users have completed all milestones
- Which specific milestones have the highest and lowest completion rates
- Where users are dropping off
You can also see individual user progress at Insights > Users — click any user to see which milestones they've completed and when.
Checklists require an identified user to track progress. Anonymous users won't see checklists — use tooltips or banners for anonymous guidance.