Quick Start
Get Callout running on your site in under a minute.
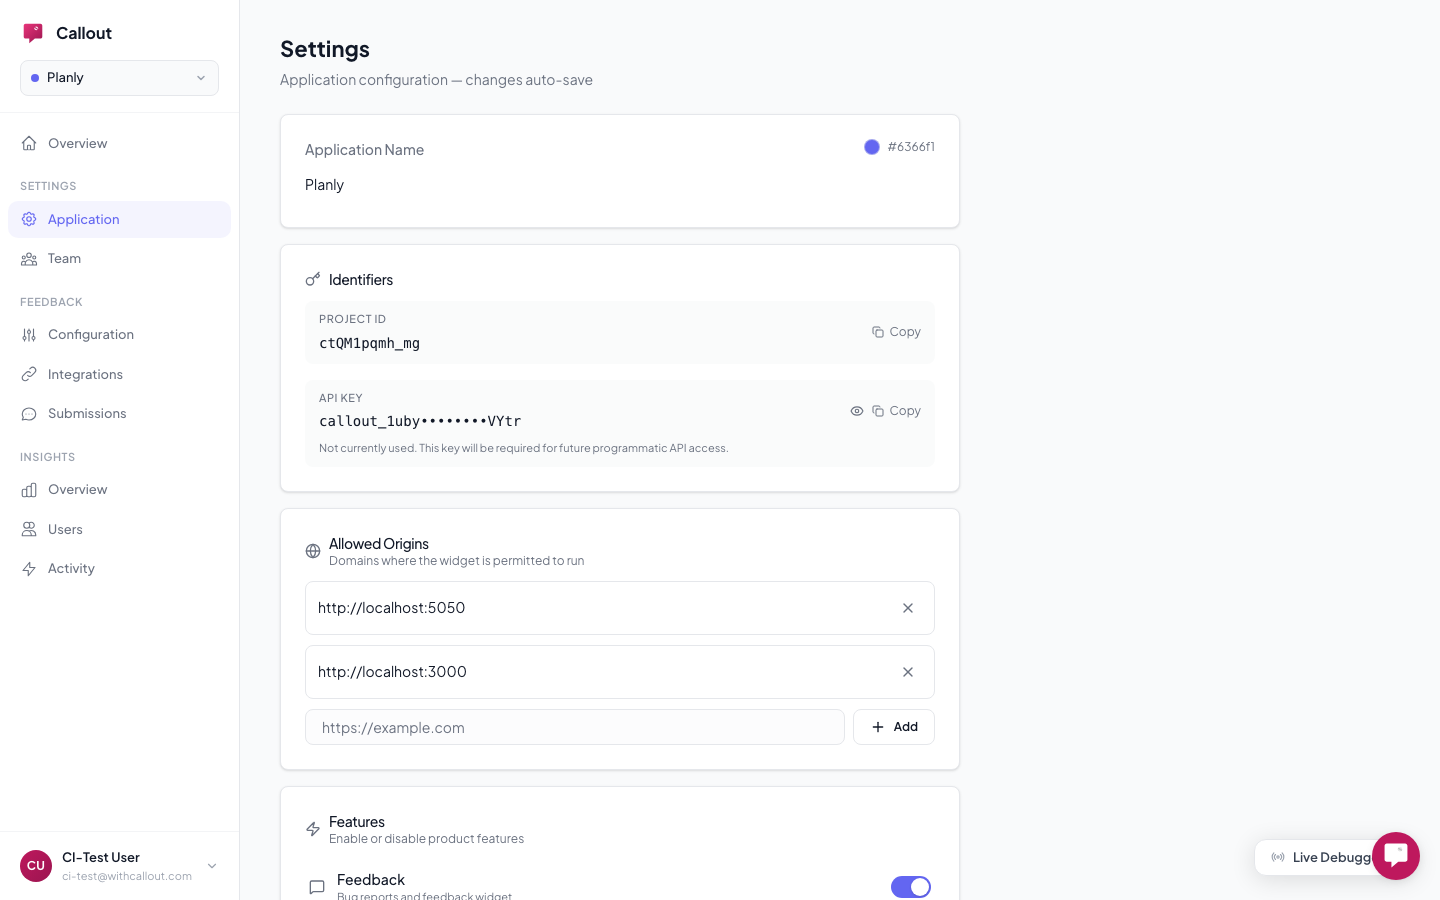
First, grab your project ID from Your Application > Settings in the dashboard:
Then add this snippet to your site — replace YOUR_PROJECT_ID with your actual project ID:
<script>
  window.CalloutConfig = { projectId: "YOUR_PROJECT_ID" };
</script>
<script src="https://cdn.withcallout.com/widget.js" defer></script>
That's the entire installation. Everything else is managed from the dashboard.
What Happens Automatically
Once the script loads, everything works without additional setup:
- A feedback button appears on your site (bottom-right by default)
- Your project config loads — categories, feature flags, onboarding experiences
- Users are identified automatically if your app uses Clerk or Auth0
- Onboarding experiences appear for the right users on the right pages
Try It
Click the feedback button. Capture a screenshot. Draw on it. Submit a test report. If you've set up delivery, check that the report arrived in GitHub or email.
Want to see what's happening under the hood? Add debug: true to your config and check the browser console for [Callout] entries.
Using React or Next.js?
The same snippet works everywhere. For framework-specific examples, see the Frameworks guide.
For Next.js, use next/script:
import Script from "next/script";

// In your layout:
<Script id="callout-config" strategy="afterInteractive">
  {`window.CalloutConfig = { projectId: "YOUR_PROJECT_ID" };`}
</Script>
<Script src="https://cdn.withcallout.com/widget.js" strategy="afterInteractive" />